Transform blank walls into breathing ecosystems. Today’s theme explores how to design, install, and enjoy living walls that bring nature vertically into everyday rooms.
Plants can temper indoor air by increasing humidity, softening acoustics, and intercepting dust. Studies suggest green views reduce stress and support focus. A living wall concentrates these benefits where you notice them most, right at eye level in busy, often stale corners.
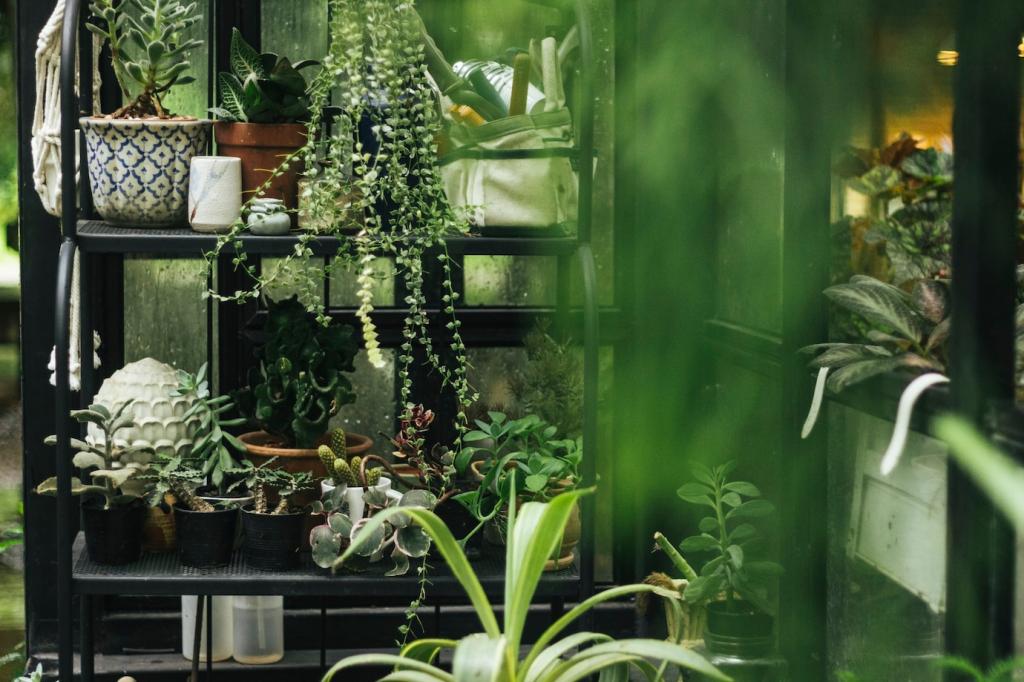
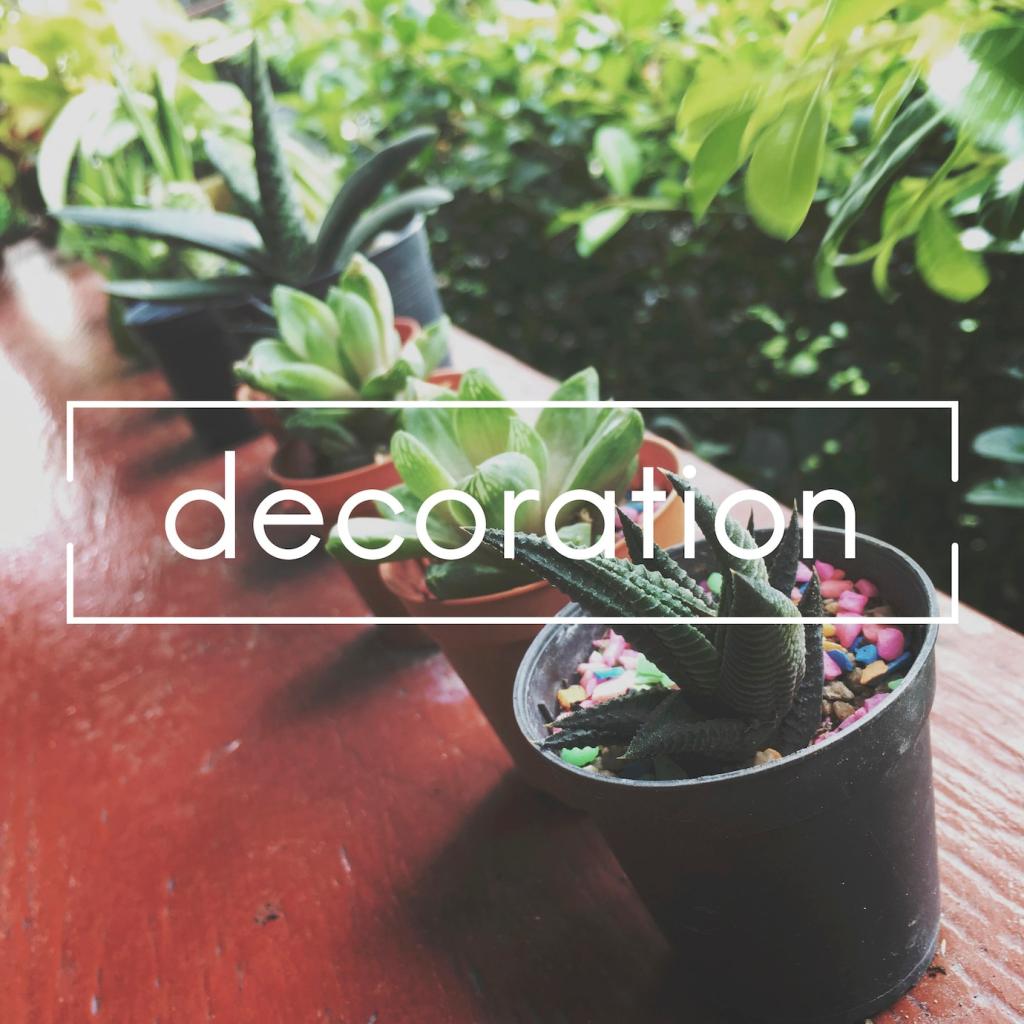
Small apartment, big plant dreams. Vertical gardens reclaim unused wall real estate, freeing floors for movement and light. Even a narrow panel beside a doorway can host dozens of trailing species, creating depth and color without crowding furniture or sacrificing natural pathways through your home.
When my friend Maya moved into a dim rental, her hallway felt like a tunnel. We installed a modest felt-pocket wall, added two grow bars, and chose forgiving pothos. Within weeks, neighbors lingered to chat there, surprised by the soft rustle and scent. Home suddenly felt alive.
Designing Your Vertical Garden
Choosing a System: Pockets, Panels, or Trellis
Felt pockets are affordable and easy to swap. Modular panels offer tidy irrigation and slick maintenance. Trellis-and-pot approaches are flexible and renter friendly. Match the system to your tolerance for plumbing, your budget, and whether you want a living mosaic or a climbing, sculptural expression.
Style Language: Minimalist to Jungle Maximalist
For serene rooms, repeat two species in even rows for calm rhythm. For exuberant spaces, layer contrasting leaf textures, unexpected variegation, and waterfall-like cascades. Tie everything with a limited palette of planters or frames, so the composition reads intentional rather than chaotic, even as it grows.
Planning the Layout and Focal Points
Start with one anchor plant that steals attention, then build supporting cast around leaf color, size, and pace. Sketch before planting. Consider sightlines from the sofa or desk. Share your sketches with us in the comments, and we will suggest tweaks to height, balance, and flow.
Most living walls thrive in bright, indirect light. If your room is dim, add full-spectrum LED bars around 4000–6500K to balance clarity and warmth. Aim for even coverage from top to bottom to avoid leggy crowns and bald bases, and place lamps on timers for consistent day length.
Light, Water, and Growing Media Essentials
Drip lines with emitters reduce guesswork and keep roots evenly moist. Always include a catch tray or reservoir and a reliable overflow path. In rentals, use removable trays and moisture sensors. Label valves and flush lines seasonally. Your future self will thank you when travel plans pop up.
Resilient Staples for Beginners
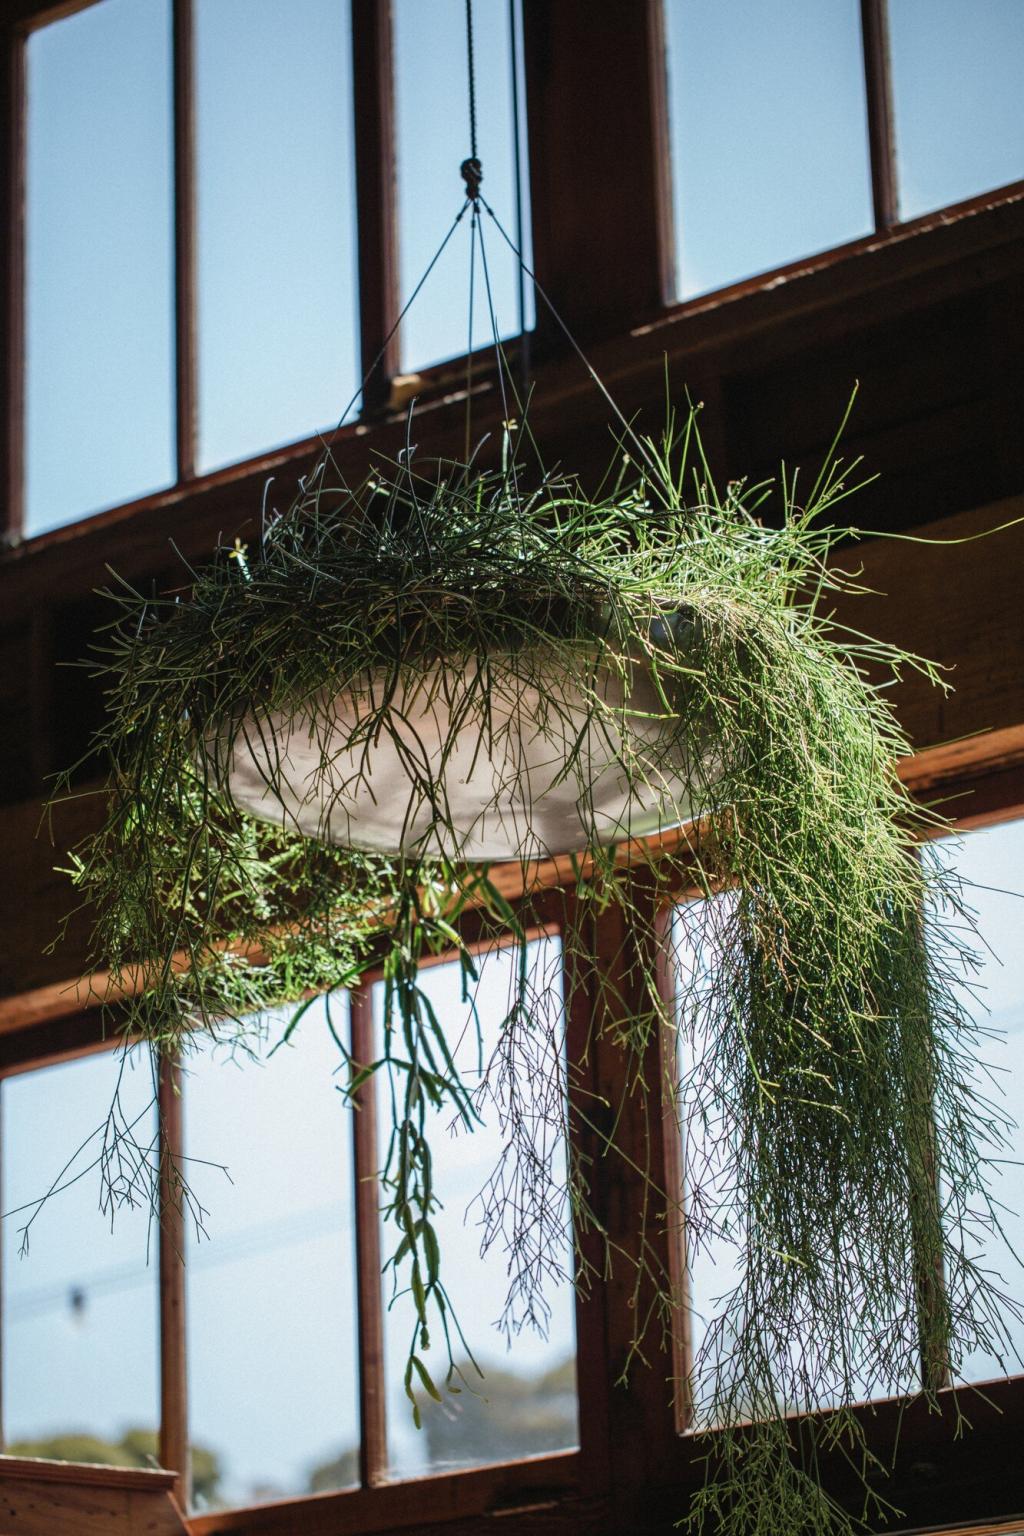
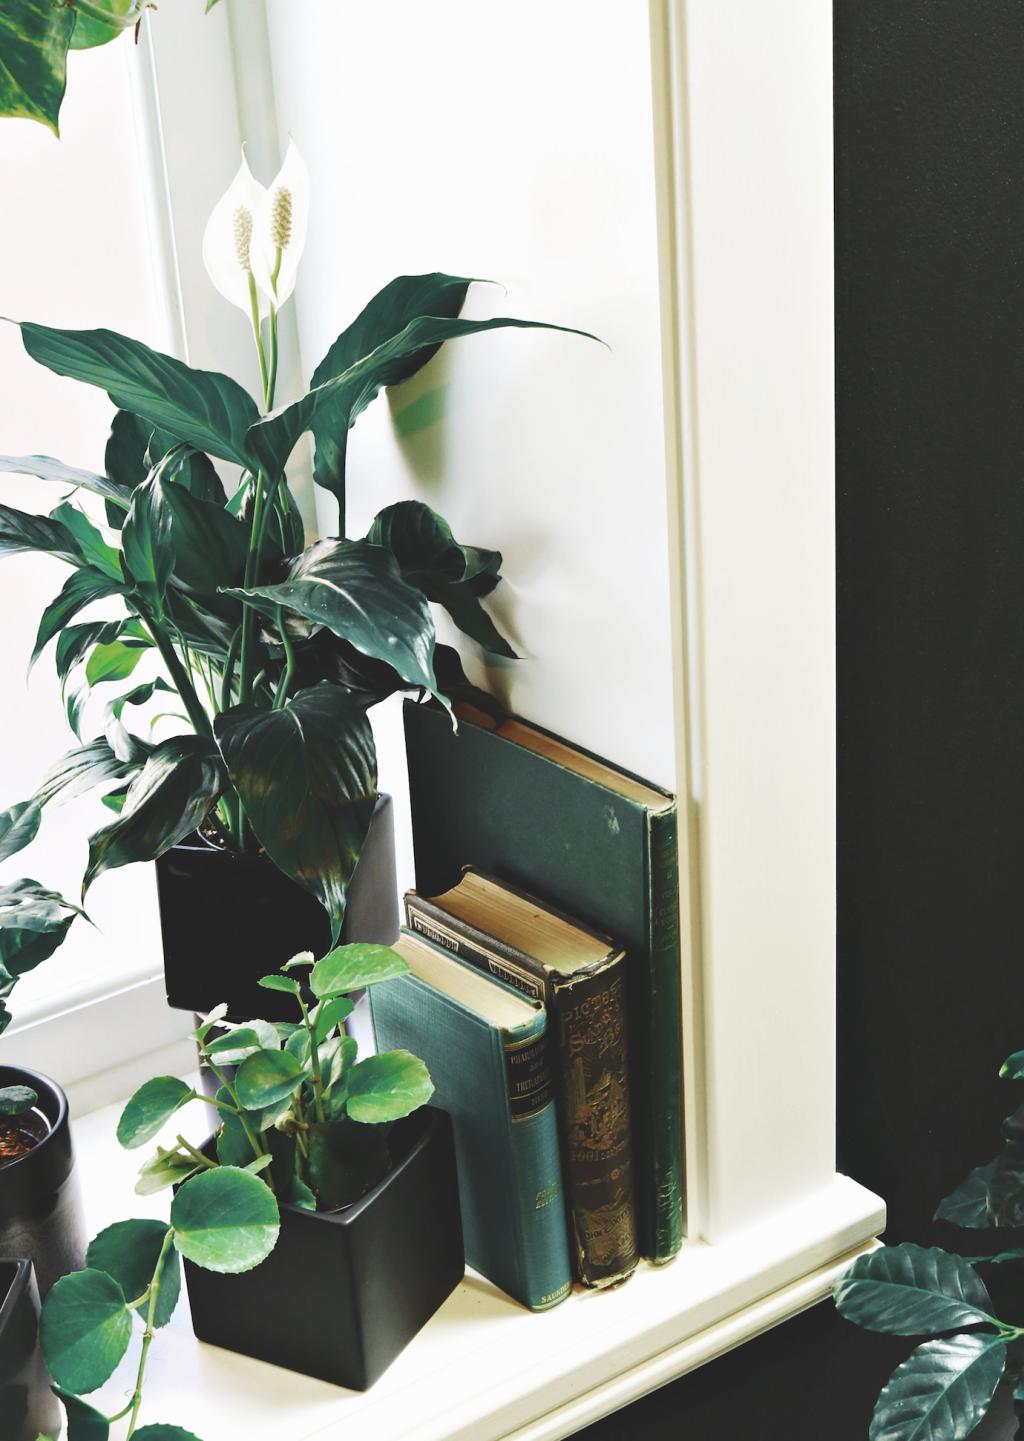
Start with heartleaf philodendron, pothos, spider plant, peperomia, and Boston fern for forgiving growth and lush volume. They tolerate occasional lapses and recover well after pruning. Mix trailing and tufted forms to create movement. Once established, add bolder textures like monstera adansonii or tradescantia for playful contrast.
Edible and Fragrant Walls
Kitchen living walls shine with basil, thyme, parsley, mint, and trailing strawberries. Give herbs more light and quick-draining media to keep flavors intense. Pinch regularly to encourage branching. Imagine snipping garnish over simmering soup. Tell us your favorite herb combos, and we will test them in future posts.
Pet- and Child-Safe Choices
If nibblers live with you, consider non-toxic options like spider plant, calathea, maranta, peperomia, and Boston fern. Avoid pothos and philodendron if curious mouths roam. Mount panels high, secure loose cords, and use protective clips. Share questions about safety, and we will compile a community-safe plant roster.
Installation and Structural Considerations
Even small walls become heavy when saturated. Find studs, use appropriate anchors or a ledger board, and add a waterproof backing such as cement board plus an EPDM liner. Keep electrical outlets clear. When uncertain, consult a contractor for load ratings and safe routing before the first screw.
Installation and Structural Considerations
Install a continuous drip tray with a visible water level and easy access. Add floor protectors or a shallow boot tray beneath for extra insurance. Seal edges carefully, and leave a tiny inspection gap to spot leaks early. Plants will thank you, and landlords will too.